
|
Adding a Provider's Photo |

Prior to uploading a provider’s photo the specialist will need to scan the photo to a local or network directory.

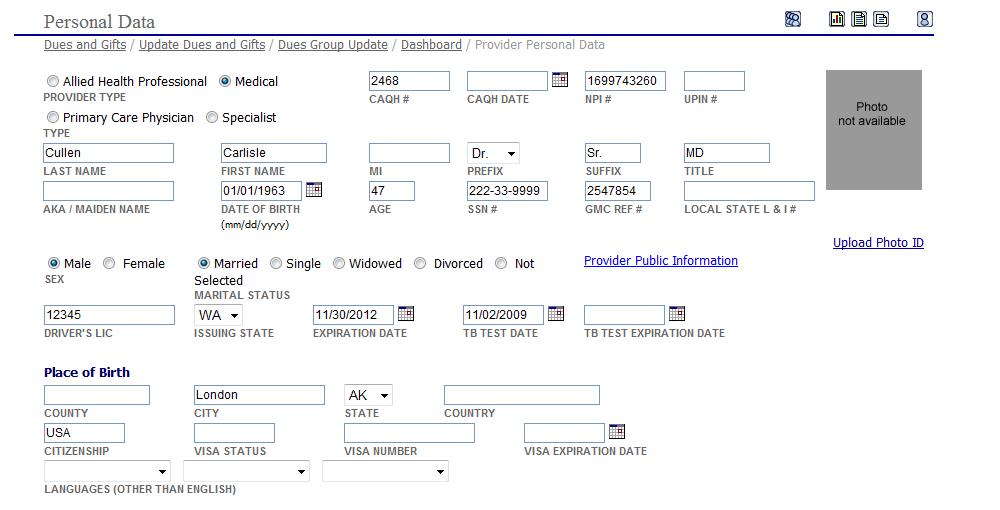
Under the “Photo Not Available” section at the top right of the "Personal Data" page select the “Upload Photo ID” link to display the "Upload Photo ID" window.

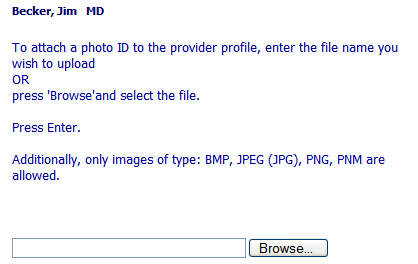
The “Upload
Photo ID” window displays. Select the  button to
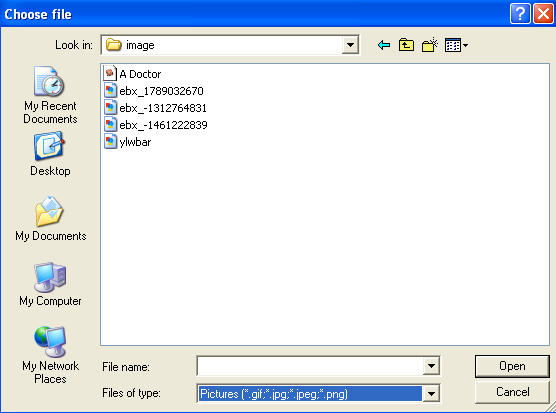
open the "Choose file"
pop-up window.

Go to the applicable local or network directory and select the provider’s photo.
Select the  button
to return to the “Upload Photo ID”
pop-up window.
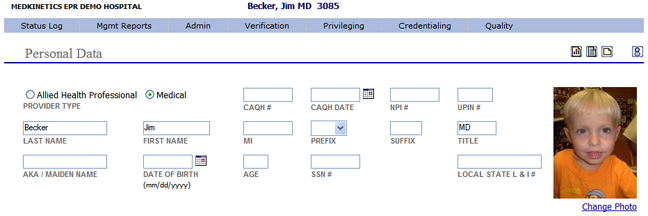
Press the ENTER button on your keyboard to upload the photo and add the photo to the provider’s “Personal Data” page.
