
|
Completing the Primary Source Verification for a Provider |
|
Based on the type of primary source verification that was generated for the provider to a particular primary source entity (i.e., hospital, education institution), the specialist will perform the following steps to complete the primary source verification process for a provider.
To
access the verification log select  on the EPR system main
menu bar and choose "Verification"
from the drop-down menu.
on the EPR system main
menu bar and choose "Verification"
from the drop-down menu.
Select "Verification Log" from the second drop-down menu.
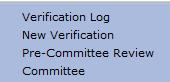
The "Verification Log" displays.

From the list of providers,
select the  next to the provider that the returned verification
applies to and to open the “Perform Verification
Task” page.
next to the provider that the returned verification
applies to and to open the “Perform Verification
Task” page.
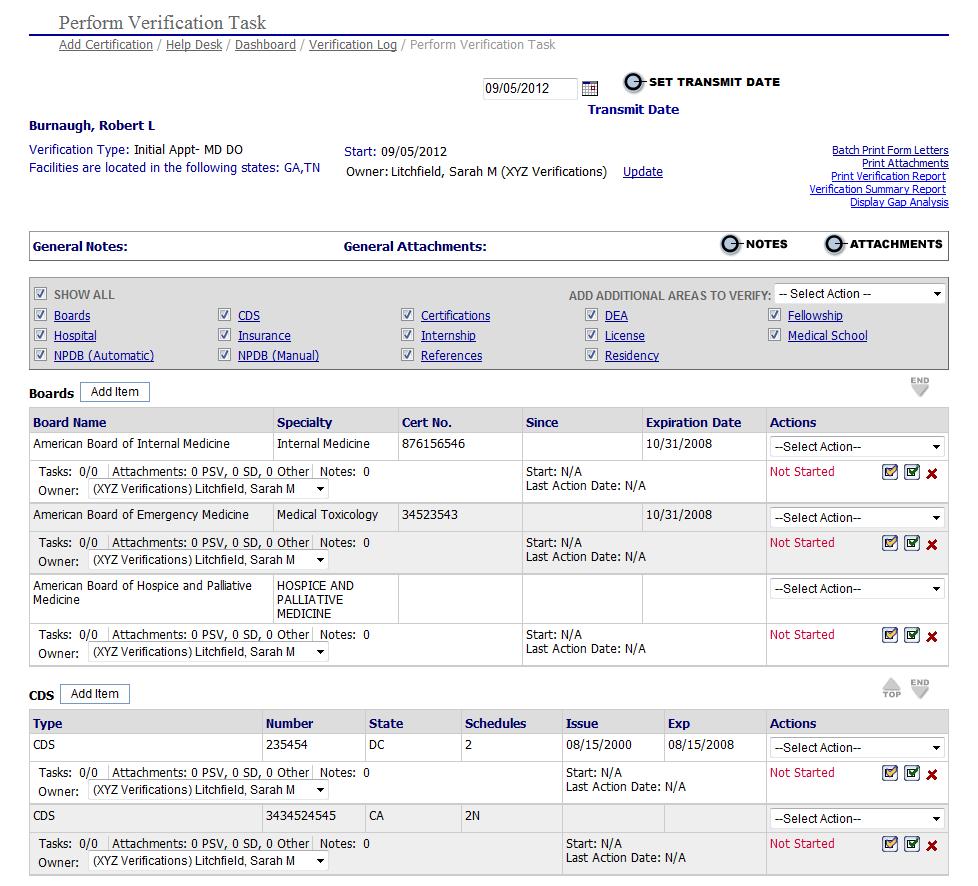
Based on the returned
verification, select the item in progress and mark as  conditional,
 complete, or
  delete if chosen in error.


Prior to performing the remaining steps, the specialist should add any notes and attachments to the completed verification.
Based on the following rules the specialist will perform the following tasks:
Verification Complete with No Issues – if the verification was received and there are no issues with the verification for the provider, the specialist will:
Select the
button and the item will be marked as complete by whomever
completed the task.

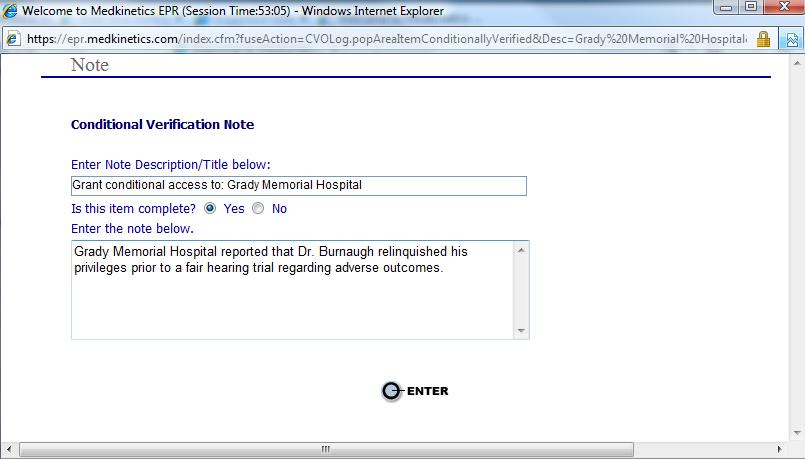
Verification Complete with Issues – if the verification was received and there are issues with the verification for the provider, the specialist will:
Select the
button
and enter a Note Description, whether the item is complete or pending
further documentation, and a note describing the Conditional Status. Select
the  button when complete.
Opening a Completed Task
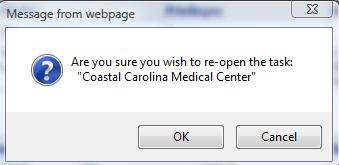
If
a completed items needs to be re-opened to add tasks, notes, or attachments
click the  icon to reopen.
The following message will appear:
Choose the "Action" needed to complete the additional task. Additional tasks may be viewed by clicking the link of "Tasks"

When clicking the link, open tasks are able to be viewed.
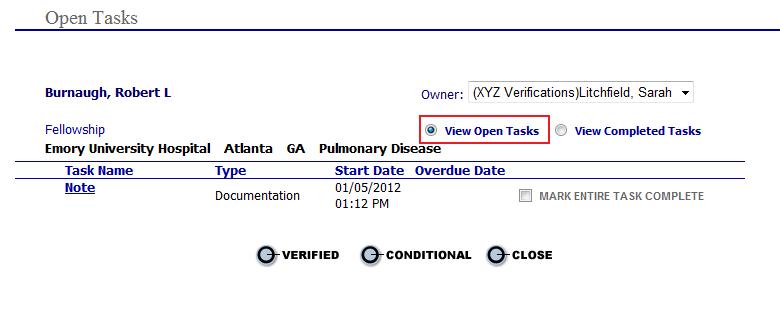
To view previously completed tasks, choose the radio button for "View Completed Tasks".
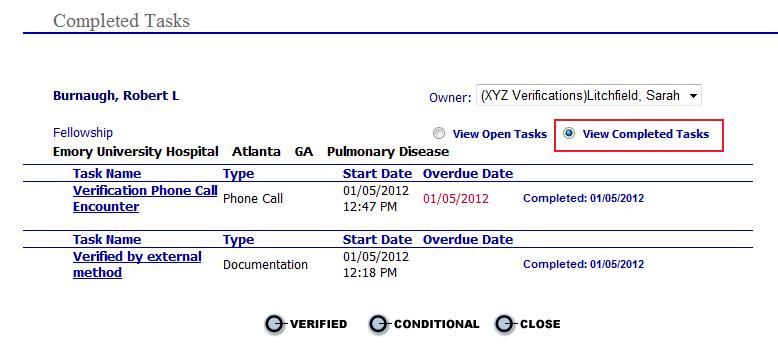
When items have been completed return to the "Perform Verification Task"
page and choose the button.