
|
Email Verifications |
During the process of adding new verification tasks to the provider’s EPR record the specialist can send an email to each verification task for the provider based on the following steps:
For this task, we will start with an "Not Started Item" from the "Perform Verification Task" list page.

Adding Email to a Verification Task
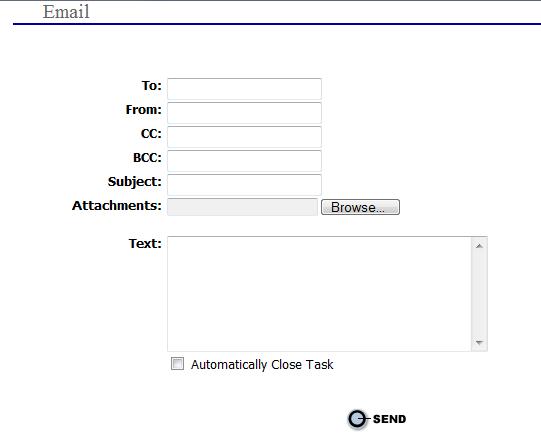
From the “Select Action” drop down for a verification item (as shown above) select the "Add Email Verification" option to display the "Email” page.

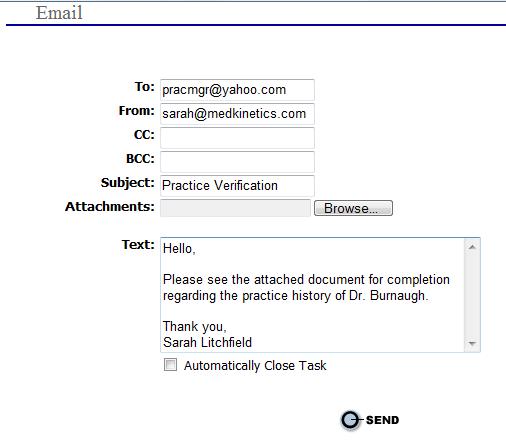
Enter the email address of the person receiving the email verification request in the “To:” field.
Enter the email address of the sender of the verification email in the “From:” field.
If applicable, enter the email address of the person receiving a carbon copy or blind carbon copy of the verification email in the “CC:” and “BCC:” fields, respectively.

If the email notification needs to be sent to multiple email addresses then separate each email by a “;” (i.e., johndoe@yahoo.com; vandywalker@yahoo.com).
Enter a subject line for the email in the “Subject:” field.
If applicable, select
the  button
to attach a documents and/or image to the email (i.e., original copy of
the license).

Select
the  button to send the email and open the “Perform
Verification Tasks” page for the verification item.