
|
My Reports |
|
Background
In order to provide customers with a more robust and user-friendly ad-hoc reporting tool, Medkinetics has released the “My Reports” Ad-Hoc Reporting Tool.
The goals in developing and releasing the “My Reports” Ad-Hoc Reporting Tool include:
Ability to report on all fields within the Medkinetics' Systems
Ability to report on archived providers
Allow the end-user to define filters on any available field within the report
The following sections will provide an overview of how to use the “My Reports” Ad-Hoc Reporting Tool. For additional assistance and installation of the “My Reports” Ad-Hoc Reporting Tool please contact support@medkinetics.com and request installation and training for the “My Reports” system.
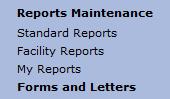
Select the  section of the main menu and select "My
Reports" from
the drop-down menu.
section of the main menu and select "My
Reports" from
the drop-down menu.
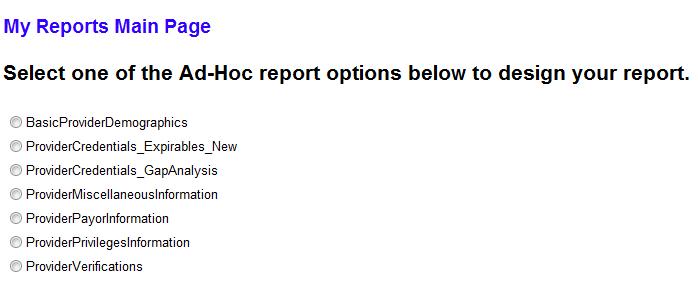
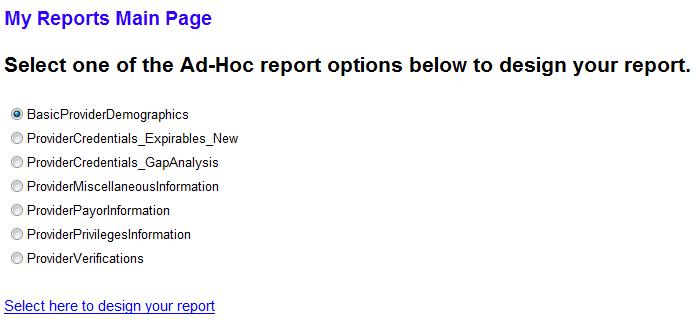
The "My Reports Main Page" is displayed. Choose a report by selecting the appropriate radio button.
A link at the bottom displays. Select the "Select here to design your report" link.
A "Launching Application" message may display while the application is opening.
The "Microsoft Report Server Login" window displays prompting you for a User name and Password.
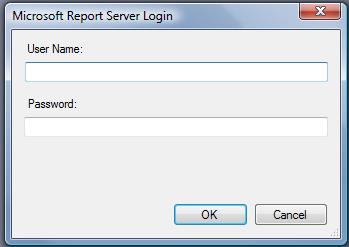

The username and password are the same and are made up of “reports + your facility id”, for example, if you facility id is 2384 then the username and password would be “reports2384” (no quotes). Contact support@medkinetics.com if you do not know your facility id.
Select the
 button to open the Ad-Hoc Design Area.
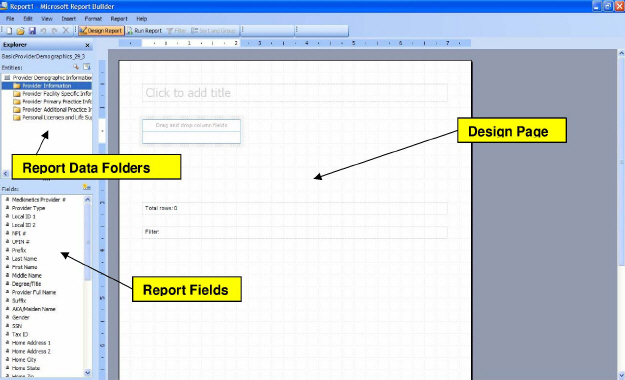
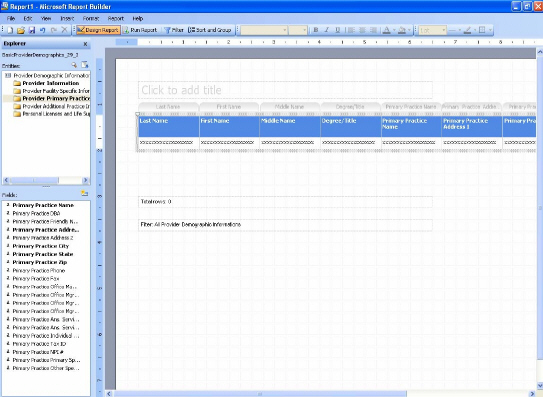
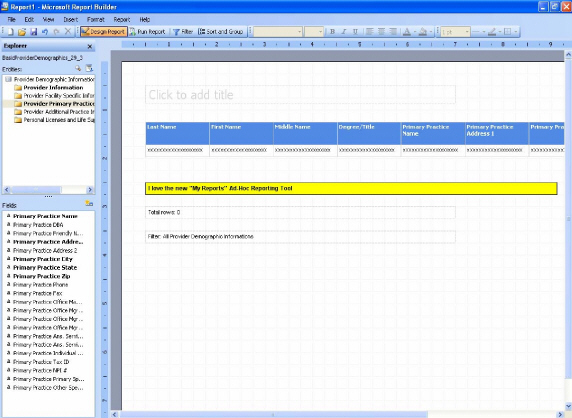
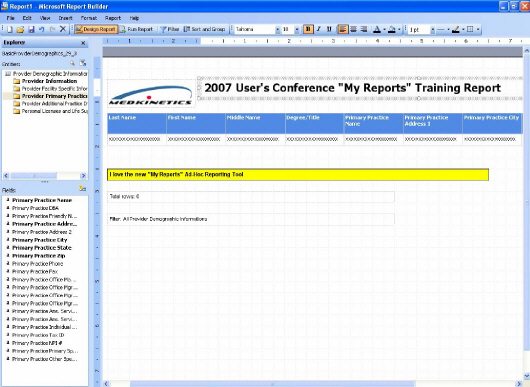
The “My Reports” Ad-Hoc Reporting Tool Design area is a simple to use drag-and-drop environment. The design area is made up of the following areas (as shown above).
Report Data Folders – This area shows the available areas of data that can be used in the report. Each functional area of data is categorized into the appropriate folders.
Report Fields – The report fields area is displayed once a Report Data Folder is selected. To change fields simply select a different Report Data Folder.
Design Page – the design page area is used to design the report by dragging the required fields over from the Report Fields area or double-clicking the required field. The design page area also allows the user to change the layout of the report (discussed in the following sections).
Designing a Report
To design a report, follow these steps:
Using the available Report Data Folders and Fields drag-and-drop or double-click on the fields required for the report.
For example, to create a simple provider listing that includes the primary practice address, perform the following steps:
From the “My Reports” Main Page, select the “BasicProviderDemographics” ad-hoc report option.
When prompted, select the link to go to the “My Reports” Ad-Hoc Reporting Tool Design Area.
When prompted, enter your username and password, as discussed in the previous section.
Once in the design area open the “Provider Information” Report Data Folder by single-clicking on the folder.
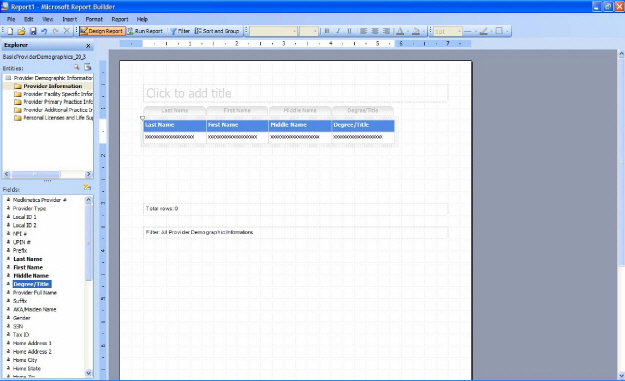
In the “Report Fields” area double-click or drag-and-drop the following fields:
Last Name
First Name
Middle Name
Degree/Title
Open the “Provider Primary Practice Information” Report Data Folder and drag-and-drop or double-click the following fields:
Primary Practice Name
Primary Practice Address 1
Primary Practice City
Primary Practice State
Primary Practice Zip

Since the number of fields that you have selected exceed the format of the page, to change the page layout right-click in the design area and select the “Page Setup” option.

In the “Page Setup” window, as shown below”, change the “Paper Size” to legal and change the “Orientation” to landscape and then select the OK button.
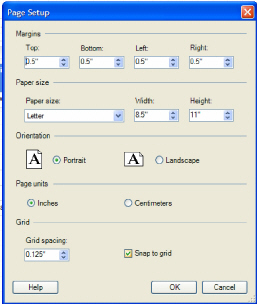
This will adjust the design area to fit all of the fields selected onto one page.
Select
the  button to close the
“Page Setup” window and return to the design area.
button to close the
“Page Setup” window and return to the design area.
Adding Additional Formatting to the Report
Now that the report fields have been added and the page has been formatted so all fields will fit onto one page, there are additional formatting features that can be added to the report as follows:
Adding Text Boxes to the Report
To add a descriptive text box to the report, perform the following steps:
Right-click in the design area of the report to view the available options.

Select “Insert” and then select “Text Box” from the drop-down menu.
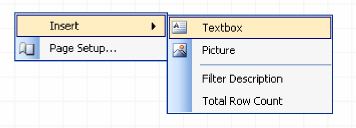
This will place a text box on the design area of the report.
Click on the inserted text box and move the text box to the desired location on the page.
To change the format of the text box, right-click on the text box and select “Format” to open the “Format” window.
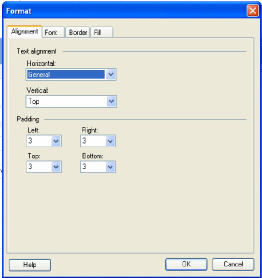
For this example, change the following format options:
Under the “Font” tab, change the “Font Style” to “Bold” and the “Size” to “9”.
Under the “Border” tab, select the “Outline” button option.
Under the “Fill” tab, select the “Yellow” highlight option.
Select the OK button on the “Format” window to return to the design area.
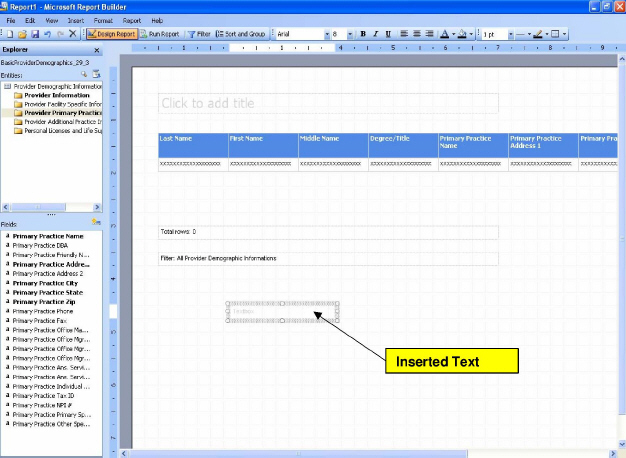
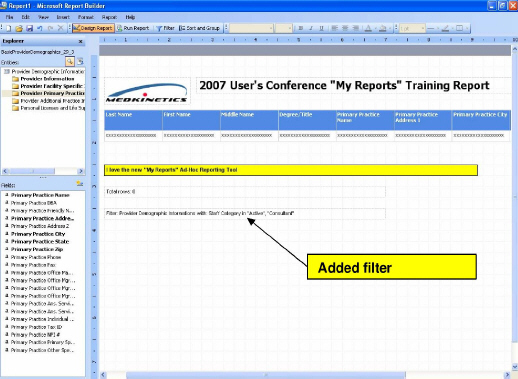
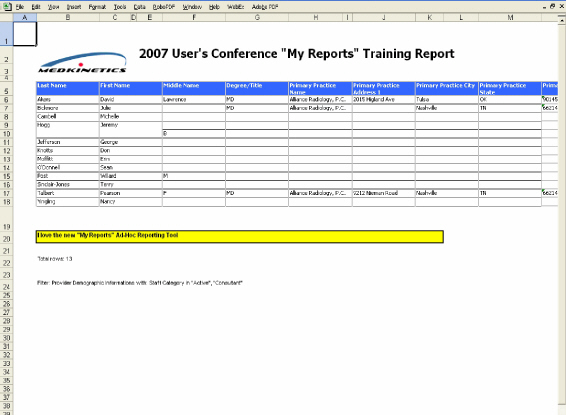
Double-click on the text box and enter the text, the design area should now look as shown below:
Adding Images to the Report
Images, such as facility logs, can be added to the report as well. To add an image to the report, perform the following steps:
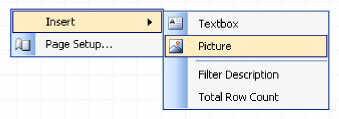
Right-click in the design area of the report to view the available options.

Select “Insert” and then select “Picture” from the drop-down menu.
The “Open” picture window will be displayed. Navigate to where the image/picture is located.
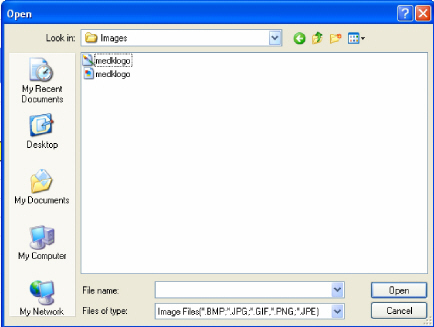
Select the picture/image file and then select the Open button.
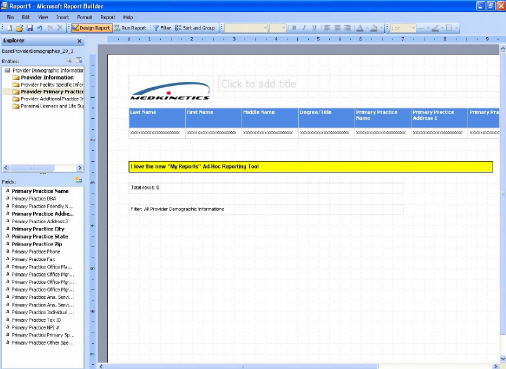
The selected image will be placed on the design area of the report.
Select the inserted image and drag to the desired area of the report.
The design area should now look like the following:
Adding Titles to a Report
To add a title to the page, double-click in the “Click to add title” area of the design area and enter a title for the report.
To adjust the style of the title, use the formatting toolbar at the top of the design area.

At the
bottom of the design area there are two areas that default for every report
to show the total rows and filter options select (filters will be discussed
in the next section). To remove these from
your report, select the area and select the “Delete” button on your key
board.
Adding Filters to a Report
As discussed in the “Background” section at the beginning of this document, a report can be filtered on any available field within the report. The field does not have to be used in the report in order to filter the report.
To apply a filter to a report, perform the following steps:
From the
menu option bar, shown above, select the  button option
to open the “Filter Data” window.
button option
to open the “Filter Data” window.
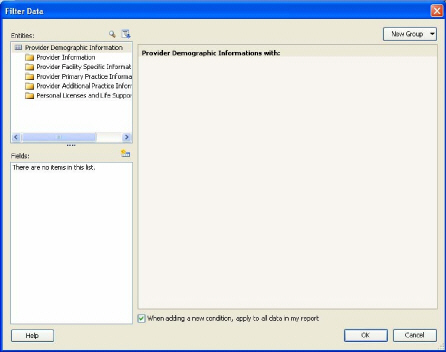
For this example, add a filter based on “Staff Category” by performing the following steps:
Select the “Provider Facility Specific Information” Report Data Folder to view the available fields in the “Fields” area of the “Filter Data” window.
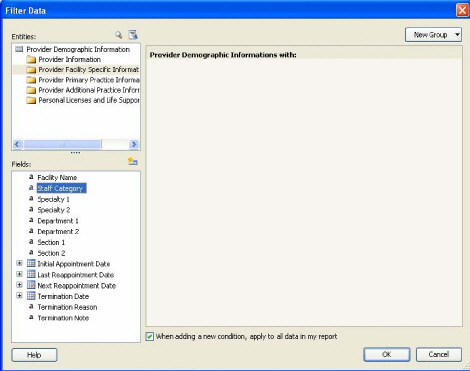
Double-click or drag-and-drop the “Staff Category” field onto the area under the “Provider Demographic Information with:” section of the window.
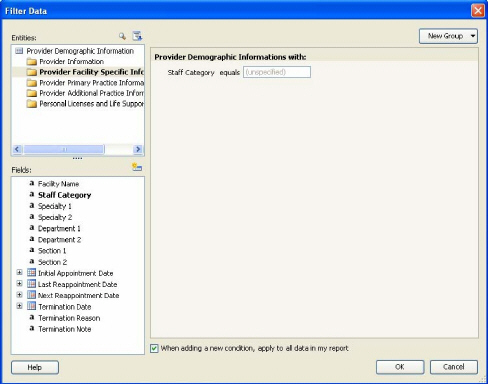
There several different options for a filter, by selecting the “equals” next to the “Staff Category” filter a list of available filter options are presented.

For this example, select the “In a list” option.
Select the “unspecified” area of the filter to open the list option box and begin entering the list filter criteria.
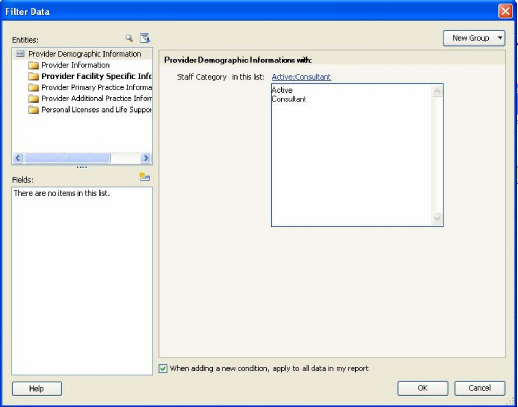
Select the OK button to save the filter and return to the design area for the report.
If you left the “Filter” information at the bottom of the design area, the filter information will now be displayed.
Multiple filters can be added to a single report and can be added after the report has been generated as well (to be discussed in the next section).
Grouping and Sorting a Report
To apply
additional grouping and sorting to the design of the report, select the
 to open the “Sort”
window.
to open the “Sort”
window.
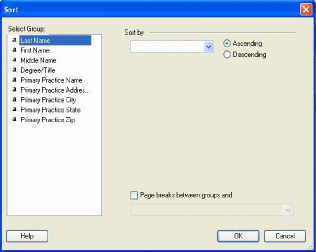
Select the applicable fields to sort by and then select the OK button to continue and return back to the design area.
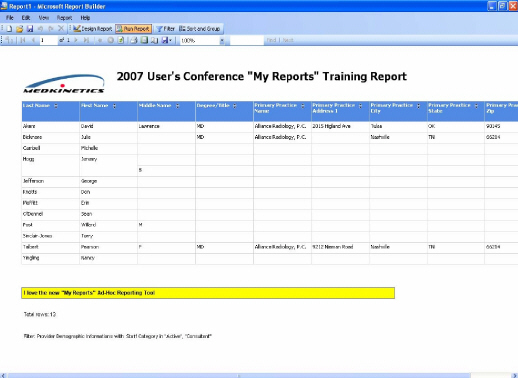
Generating, Printing, and Exporting the Report
Now that
the report has been designed, filters added and grouping and sorting determined,
select the  button on the menu bar to generate and view
the report.
button on the menu bar to generate and view
the report.
Printing the Report
To print
the report, select the  icon on the menu bar to open
the “Print” window.
icon on the menu bar to open
the “Print” window.
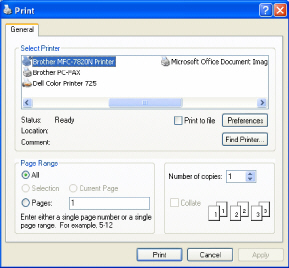
Select the applicable printer and select the Print button to print the report and return to the report view.
Exporting a Report
To export a report, select the “Disk” menu bar option drop-down.
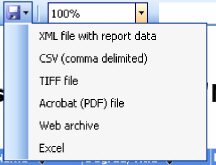
Select the format to export the report to, for this example select the “Excel” format to open the “Save As” window.
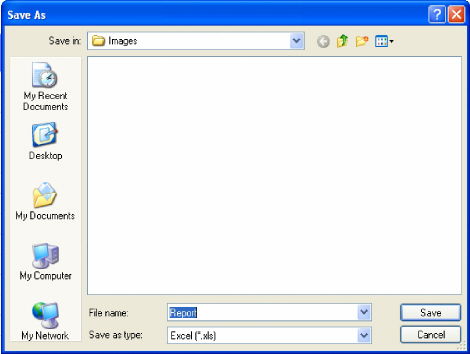
Navigate to the desired location to export the report to, enter a name for the report in the “File Name” field and then select the Save button option to export the report and return to the report view.
To view the exported report, navigate to the location that the report was exported to and open the “Excel” file.
Summary
In summary, the new Medkinetics' “My Reports” Ad-Hoc Reporting Tool provides a more robust and user-friendly environment for designing facility specific reports.
As always, if the “My Reports” or Standard Reports do not meet your reporting needs, you can submit a support ticket to support@medkinetics.com providing details of the type of report you need and the Medkinetics will prepare the report for you and make it available under the Management Reports/Facility Reports page.