
|
Adding, Viewing, Updating and Deleting Notes to a Verification Task |
|
During the process of adding new verification tasks to the provider’s EPR record the specialist can add notes to each open verification task or to the entire verification log for the provider based on the following steps:
For each of these tasks, we will start with an "In Progress Item" from the "Perform Verification Task" list page.

Adding a General Note to the Verification Log
From the Perform Verification Task Page Click "Notes" at the top of the page.

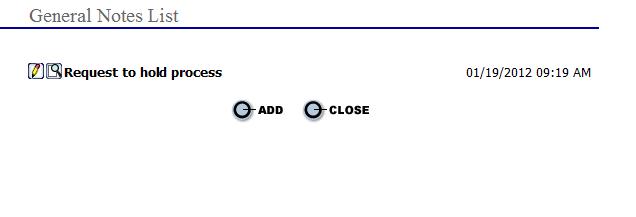
Once the General Notes List Page opens, click
the  button to enter a new general note regarding the verification
log.
button to enter a new general note regarding the verification
log.
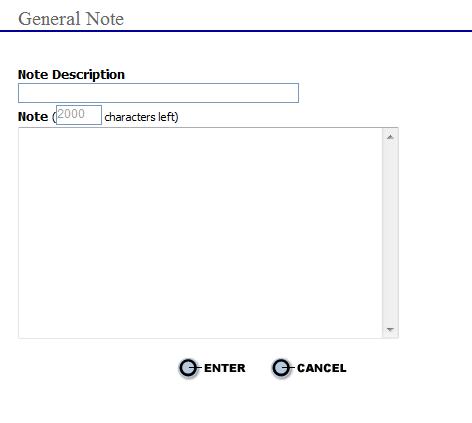
Enter a "Note Description" and "Note". Click Enter to save the general note.
The number of general notes entered is displayed at the top of the Perform Verification Task page.
Using the "General Notes" icon, follow same steps below to "View an Existing Note", "Edit an Existing Note", and "Delete an Existing Note".

General Notes are not printed in the Provider Verification Report.
Adding Notes to a Verification Task
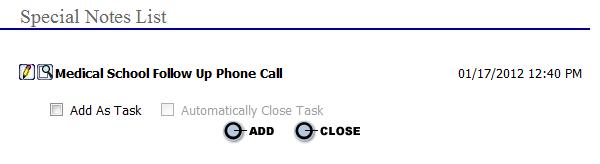
From an “Select Action” drop down for a verification item (as shown above) select the "Add Notes" option to display the "Special Note” page.
Choose "Add As Task" (and "Automatically Close Task" if desired). The "Add As Task" checkbox automatically creates a task at the same time the note is entered.
The "Automatically Close Task" checkbox, marks the item as "Complete", closing the task.
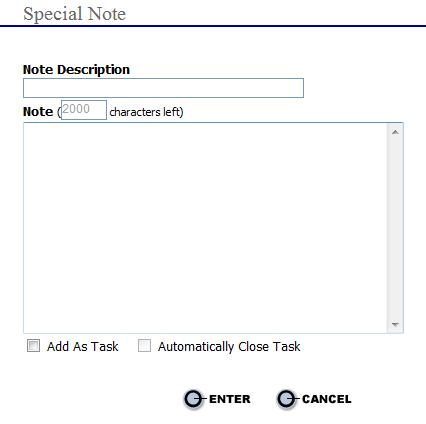
Enter a note description
and the full notes and select the button to save the notes
and return to the “Special Notes List”
.
button to save the notes
and return to the “Special Notes List”
.
To add additional notes repeat the steps above.
To exit the “Special Notes List” and return to the
“Perform Verification Task” page
for the verification item select the  button
at the top right-hand corner of the page.
button
at the top right-hand corner of the page.
Viewing an Existing Note
Bring up the “Perform Verification Task” page for a provider.
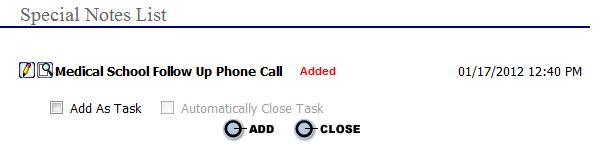
To view the existing
note select the  link
to open the “Special Notes List”
page.
link
to open the “Special Notes List”
page.

Select the  icon next to the note description to open the note in a view
window.
icon next to the note description to open the note in a view
window.
To exit the “View Note”
page and return to the “Special
Notes List”
page select the button
in the top right-hand corner of the page.
To exit the “Special Notes List” and return to the
“Perform Verification Task” page
for the verification item select the button at the top
right-hand corner of the page.
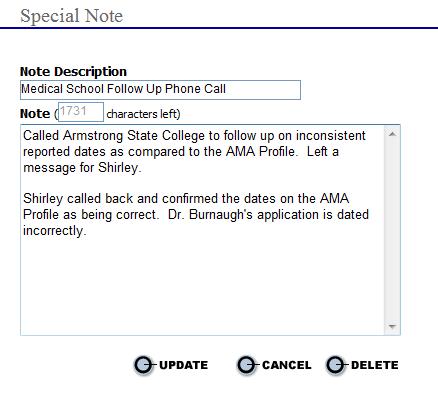
Updating an Existing Note
Bring up the “Perform Verification Task” page for a provider.
To update and/or
edit the existing note select the link
to open the “Special Notes List”
page.
Select the ![]() icon next to the note description to open the note in a view
window.
icon next to the note description to open the note in a view
window.
Make all necessary
changes and select the  button to return to the “Special
Notes List”
window.
button to return to the “Special
Notes List”
window.
To exit the “Special Notes List” and return to the
“Open Tasks” page for the verification
item select the button at the top right-hand corner of
the page.
Deleting an Existing Note
Bring up the “Perform Verification Task” page for a provider.
To update and/or
edit the existing note select the link
to open the “Special Notes List”
page.
Select the  to edit and then select the
  button to delete
the Note.
button to delete
the Note.
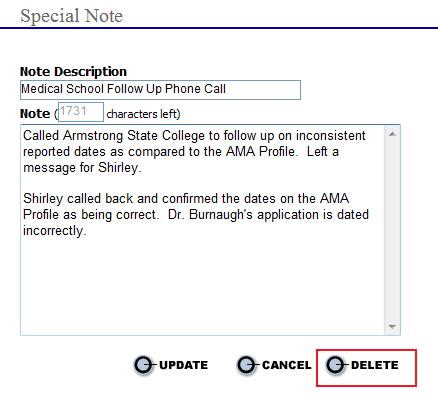
Notes
that are created as "Tasks" in the Verification Log can
NOT be deleted!
Select the  button
to delete the note and return to the “Special
Notes List”
window.
button
to delete the note and return to the “Special
Notes List”
window.
To exit the “Special Notes List” and return to the
“Open Tasks” page for the verification
item select the button at the top right-hand corner of
the page.
Only "Special Notes" can be viewed by printing the Provider Verification Report.