
|
Adding a Provider to the Verification Log |
|
The first step in primary source verification is to add the new provider to the “Verification Log” as shown below.
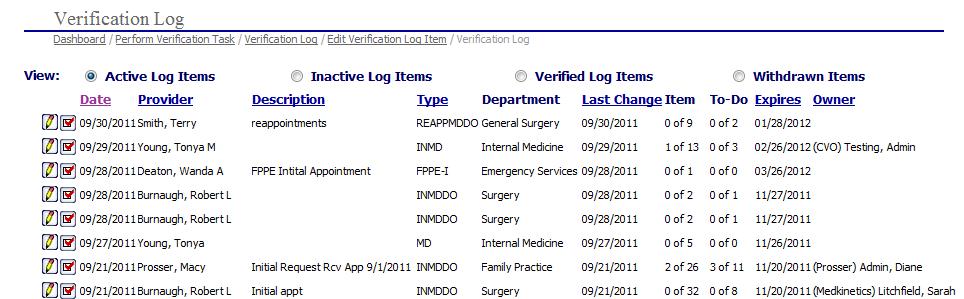
The specialist will perform the following steps to begin the primary source verification process:
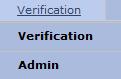
Select
 on the EPR system main menu bar and choose "Verification"
from the drop-down menu.
on the EPR system main menu bar and choose "Verification"
from the drop-down menu.
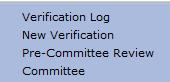
Select "New Verification " from the second drop-down menu.
The “Verification Log Item” page is displayed.
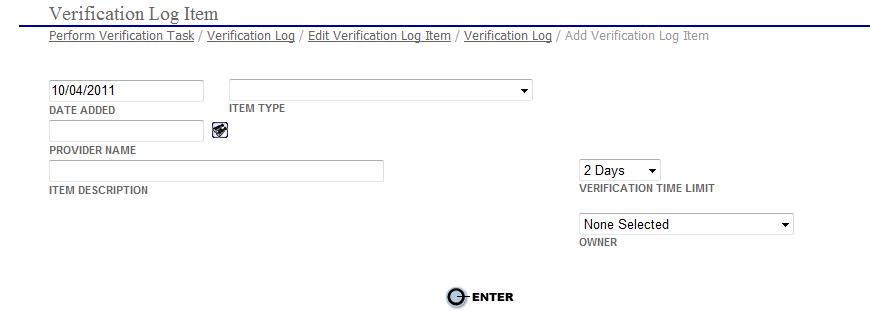
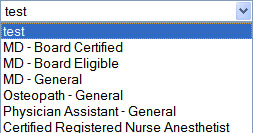
Select the type of provider
that the primary source verification is being performed (i.e., medical
doctor – general, etc) in the "Item
Type" field.

For detailed information on the adding or updating “Item Types” see Verifications Administration.
Select the ![]() search icon by the “PROVIDER
NAME” field to open the “Provider
Search” window.
search icon by the “PROVIDER
NAME” field to open the “Provider
Search” window.
If applicable, enter an item description (i.e. "Initial Appointment Verification", "Reappointment Verification").
If applicable, enter an Owner for the item that is to be verified.
Select the button to save the information and open the “Add
Verification Log Item” page.
button to save the information and open the “Add
Verification Log Item” page.
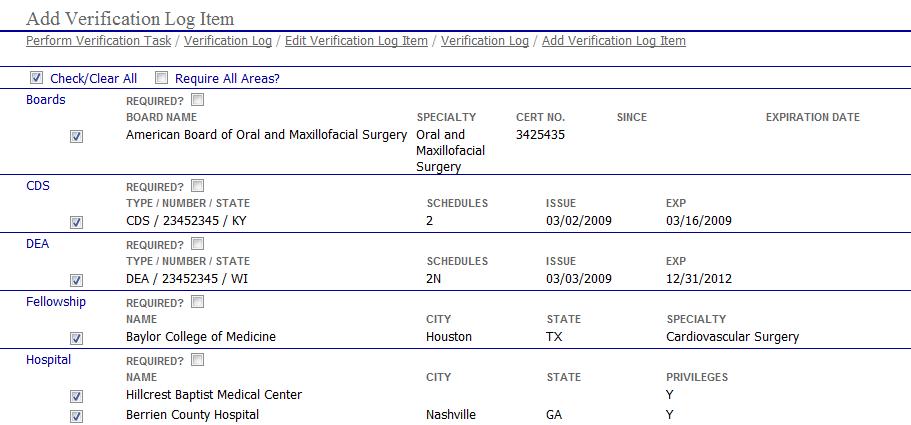
The items that are listed are required items for primary source verification see Verifications Administration for further details on defining the verification type.
If any of the items listed
above are not required for primary source verification of the new provider
the specialist will select the  next
to the verification item to remove it from the list.
next
to the verification item to remove it from the list.
Review the items listed
and if all items required for primary source verification are listed accurately
then select the  button at the bottom of the page to return
to the main “Verification Log”
page. The word "Added"
displays in red to the right of the new entry.
button at the bottom of the page to return
to the main “Verification Log”
page. The word "Added"
displays in red to the right of the new entry.
