
|
Verification Types |
|
To access the "Verification Types" page perform the following steps:
Select
 on the EPR system main menu bar and choose "Admin"
from the drop-down menu.
on the EPR system main menu bar and choose "Admin"
from the drop-down menu.
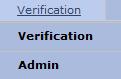
Select
"Verification Types"
from the second drop-down menu.

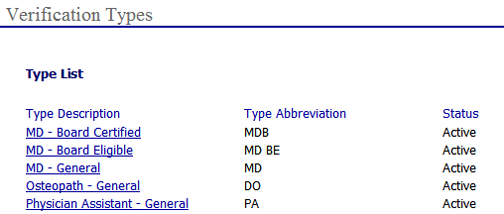
The "Verification Types" list will display.

Modifying/Inactivating Verification Types and Required Areas
Verification Types lists the medical professionals for which your organization routinely verifies credentials.
To view the areas that are verified for each profession type, click on the name of the "Type Description" to open the "Verification Types" page.
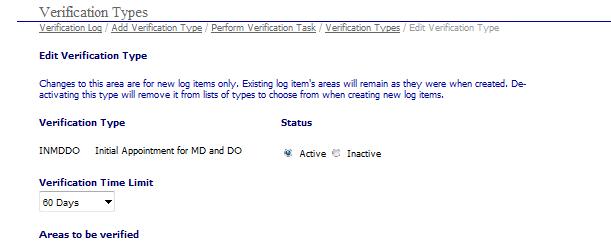
To remove the verification
type as an available option select the  radio button.

Changing the status from Active to Inactive will remove the Verification Type from the select box when entering a new verification log item. For instance if your organization has performed Credentials Verifications on nurses in the past but plans to discontinue nurse verifications, click Inactive here.
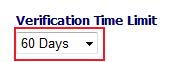
To set the "Verification Time Limit" choose the drop down box and set the expiration deadline that is applicable to the type of verification. Deadlines may be as short as 2-3 days up to 180 days and several intervals in between. The verification time limit may be established later be selecting TBD (To Be Determined).
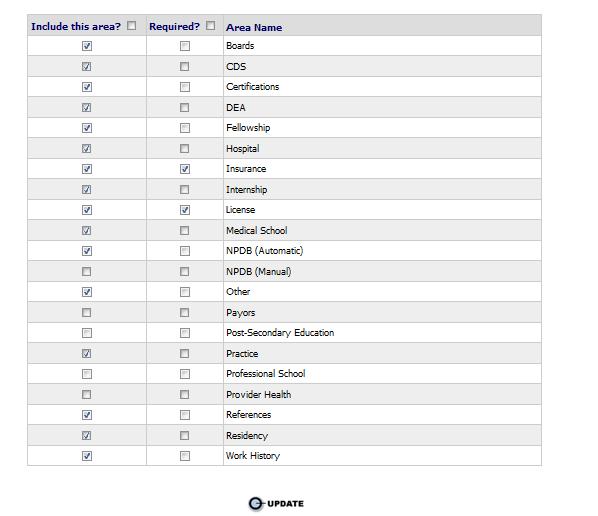
To modify an existing
verification type simply place a check  in the appropriate
box under the
in the appropriate
box under the  section. To
choose all areas, check the box next to "Include
this area?". Select
the
section. To
choose all areas, check the box next to "Include
this area?". Select
the button to update the verification type information.
An item may be marked as "Required" and will require the task to be completed for each type before this verification can proceed to Pre-Committee Review. On the verification log Perform Task page, required areas are shown with red titles.

Adding a New Verification Type
To add a new verification type follow the steps below:
From
the "Verification Types" page
select the  button to open the "Add
New Verification Type" page.
button to open the "Add
New Verification Type" page.
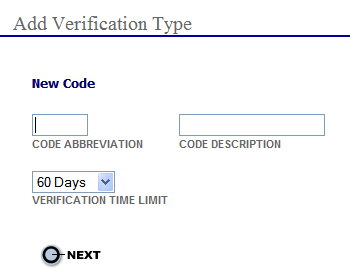
Enter the following information:
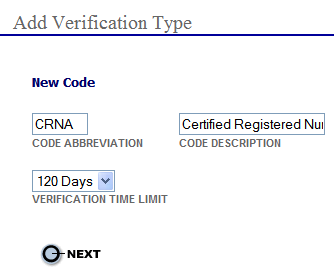
Enter an abbreviation for the new verification type in the "CODE ABBREVIATION" field (i.e., "CRNA").
Enter a full description the new verification type in the "CODE DESCRIPTION" field (i.e., "Certified Registered Nurse Anesthetist".
Select the verification cycle number of days from the "VERIFICATION TIME LIMIT" drop-down field.
Select
the button to open the "Add
Verification Type" page as shown below and perform the
following steps:
button to open the "Add
Verification Type" page as shown below and perform the
following steps:
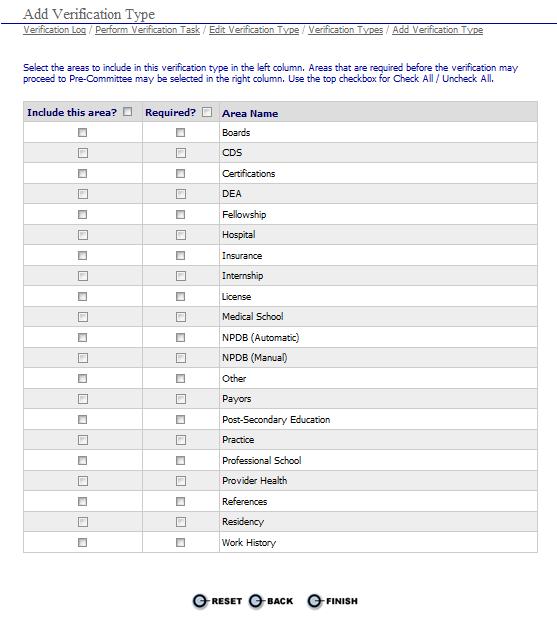
a. Place
a check next to the items in and if applicable areas that are to be verified in each verification type that
is created.
b.
Select the button to clear the new items and return the
original settings.
button to clear the new items and return the
original settings.
c. Select the button to return to the main "Verification
Types" page (shown at the
beginning of this section).
button to return to the main "Verification
Types" page (shown at the
beginning of this section).
d. Select
the button to save the changes and return to the main "Verification Types" page (shown at the beginning of this section).