
|
Adding the Provider’s Personal Data |
Based on the provider’s application the specialist will update all applicable personal information for the provider based on the following steps:
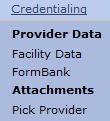
Select the  option from the main menu.
From the drop-down
menu select "Provider Data"
.

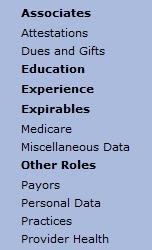
From the "Provider
Data" drop-down, select "Personal
Data".

The “Personal Data” page for the provider will display.
_0911.jpg)


Click the radio button to choose Allied Health Professional or Medical.
Click the radio button to choose Primary Care Physician or Specialist.
The provider's name is already filled from a previous screen.
Enter CAQH# and CAQH Date.
Enter NPI#.
Enter the provider’s Universal Provider Identification Number (UPIN) (if applicable).

NPI numbers are assigned to providers by the Federal Medicare program.
Enter the provider’s suffix, prefix, professional title, maiden name (if applicable) and AKA/maiden used from and to fields (if applicable).
Enter the provider’s date of birth and age.
Enter the provider's social security number.
Enter the provider's General Medical Council (GMC) number. This council is a regulatory body for medical education and training in the United Kingdom and is similar to the NPI in the United States.
Select the sex and marital status (if applicable).
Enter Provider Public Information (if applicable). These notes will be available for all users to view. This field may be used to keep sequence of call notes for call coverage in the facilities internal directory.
Enter the provider’s driver license #, expiration date and issuing state (if applicable).
Under the “Place of Birth” section enter all applicable information.
Select from the drop downs provided all languages the provider is fluent in.
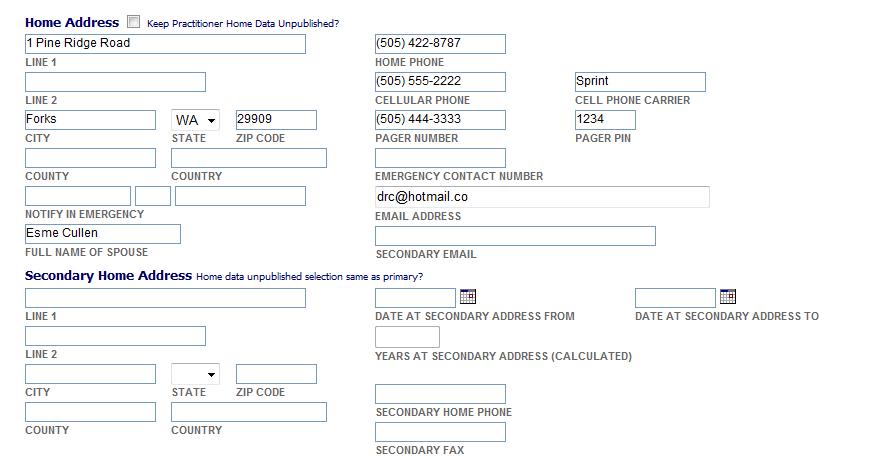
Under the “Home Address” section enter all applicable information.
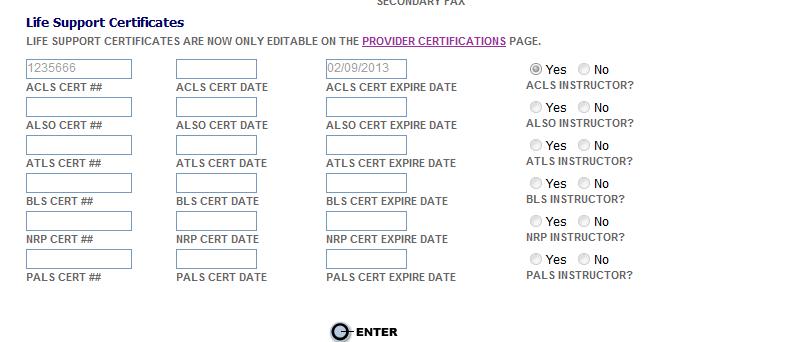
Based on the provider’s application enter all applicable life support certificates. This information can also be completed using the Certifications Page.
After all personal
data information has been added scroll to the bottom of the page and select
the button to save the information.
After all data has been entered, upload the provider photo id. Refer to Adding a Provider's Photo for more information.
See Adding Facility Data for further data entries.
After all of the provider's personal data has been added, go to the Adding Post-Secondary Education page.